top of page
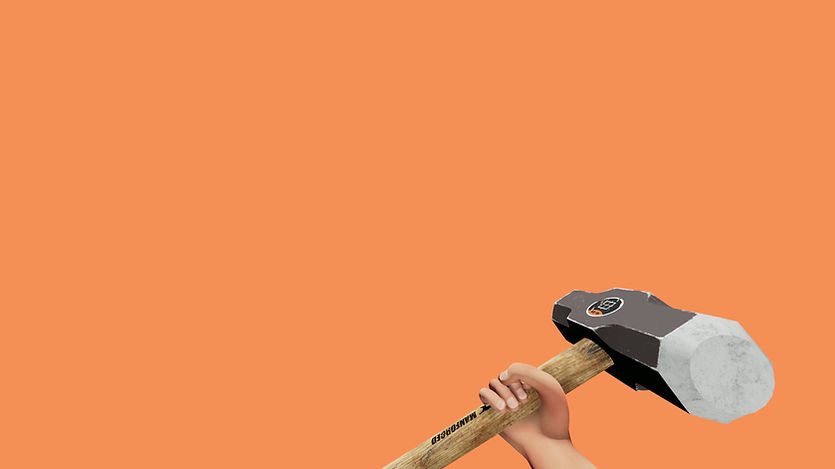
Smear Frame Hammer Rig
In our game "Rage Quit", you play from a first person perspective and your only weapon is the hammer. With the hammer being on screen for almost the entirety of the game, I had to make sure it "felt" weighty and satisfying to use. In the animations, I wanted to include smear frames in the rig itself to add onto that feeling of power and speed. Blur options in Unreal Engine yielded poor results, and I wanted to make something that could be animated directly with the hammer instead of just letting an engine create something for me. The resulting hammer rig has 2 different variations of smear frames that work with Unreal Engine. I was asked a lot about how I made this rig, so in this article I will explain how I created it.

Goals
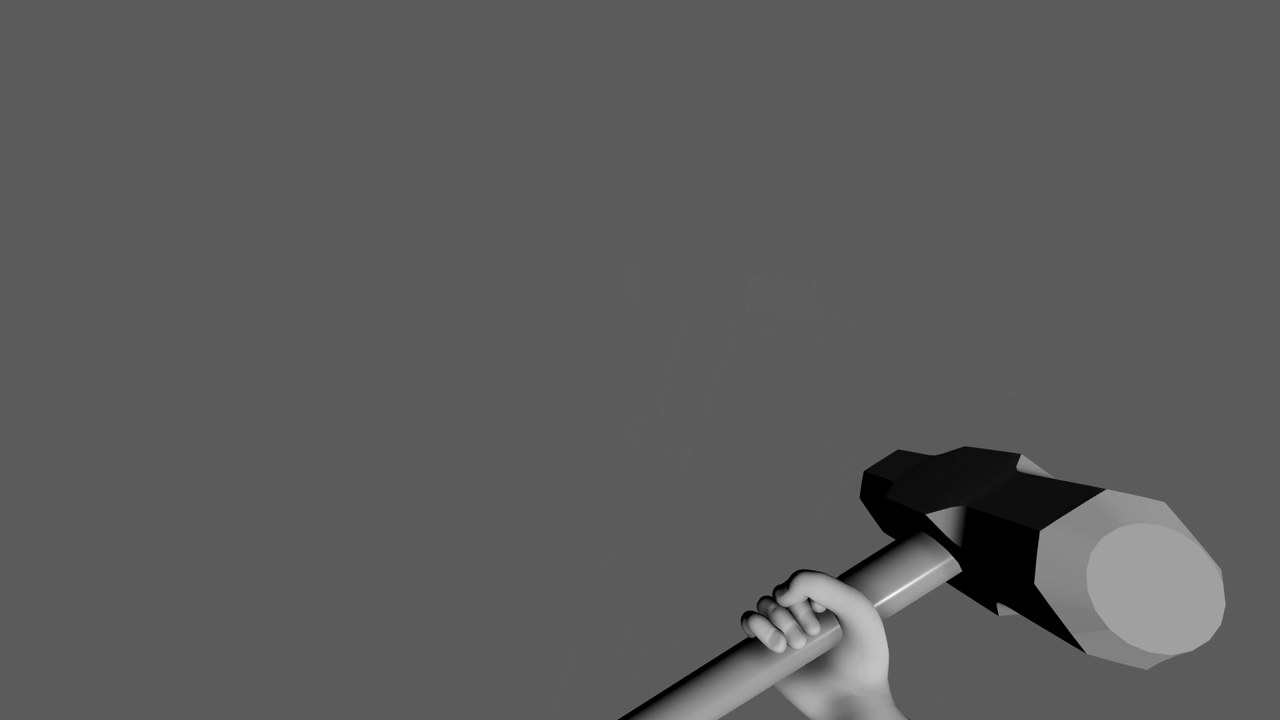
Hammer modeled and textured by Samuel López Tagle Oñate
The goal was to create a 3D smear frame for the hammer rig that could be animated along with the main hammer. This rig then had to work in Unreal Engine and be visible in the game.
1) Learn how to create an animation ready smear rig
2) Compatible with Unreal Engine 5
3) No extra work needed from programmers

Hammer rig animation controls demo and animation
Hammer animations Maya demo


Getting Started
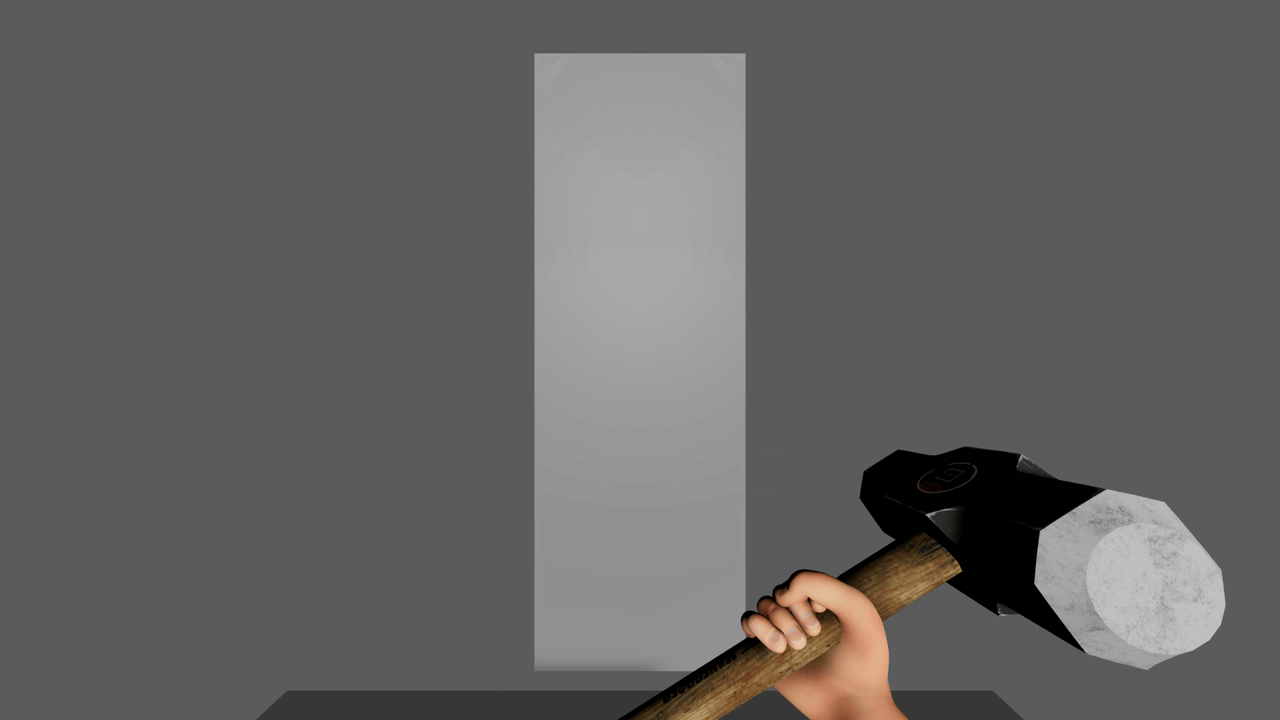
Hammer used in-engine with UE5 in Rage Quit
While working on our game Rage Quit, I was also modeling, texturing, rigging, and animating all characters. We only had 6 months to create the game and we were tight on deadlines. While rigging the hammer I had the idea to include smear frames for the animations to add extra impact, since a lot of playtesters were complaining that the hammer felt too light. The issue though is we didn't have much time for changing things around, as a lot of animations were already in the game and programmed to follow an animation blueprint. On top of having to do extra rigging myself, the programmers would also have to incorporate the animations into the game. This would take too long, so I thought to myself
"How can I create a smear frame rig that can export to Unreal Engine 5 without the programmers needing to do any extra work?"
This question already eliminated some options for the rig.
1) It couldn't have blend shapes
2) Geometry visibility can't be toggled on/ off
With those options gone, I thought of one way that could work:
I would create an extra smear rig that would be parented under the hammer rig. This smear rig would then be keyed to have a scale of near zero when it is not being used. When it is being used though, I can key the scale back to normal in 1 frame, have the smear animated, then scaled back to near zero in 1 frame once the animation is done. This way, the smear could follow any existing animation and visibility would be dictated entirely on my end.
This solved the issue of needing to reanimate anything or programmers needing to rework animation blueprints. Is this the proper way of doing this? Probably not. Did this get the job done in time? It sure did.
Another interesting note is that the rig was done entirely with matrix math! Since I had rigged the robot character first and used matrix math nodes to rig that, I was comfortable enough to rig the arms and hammer in the same fashion.
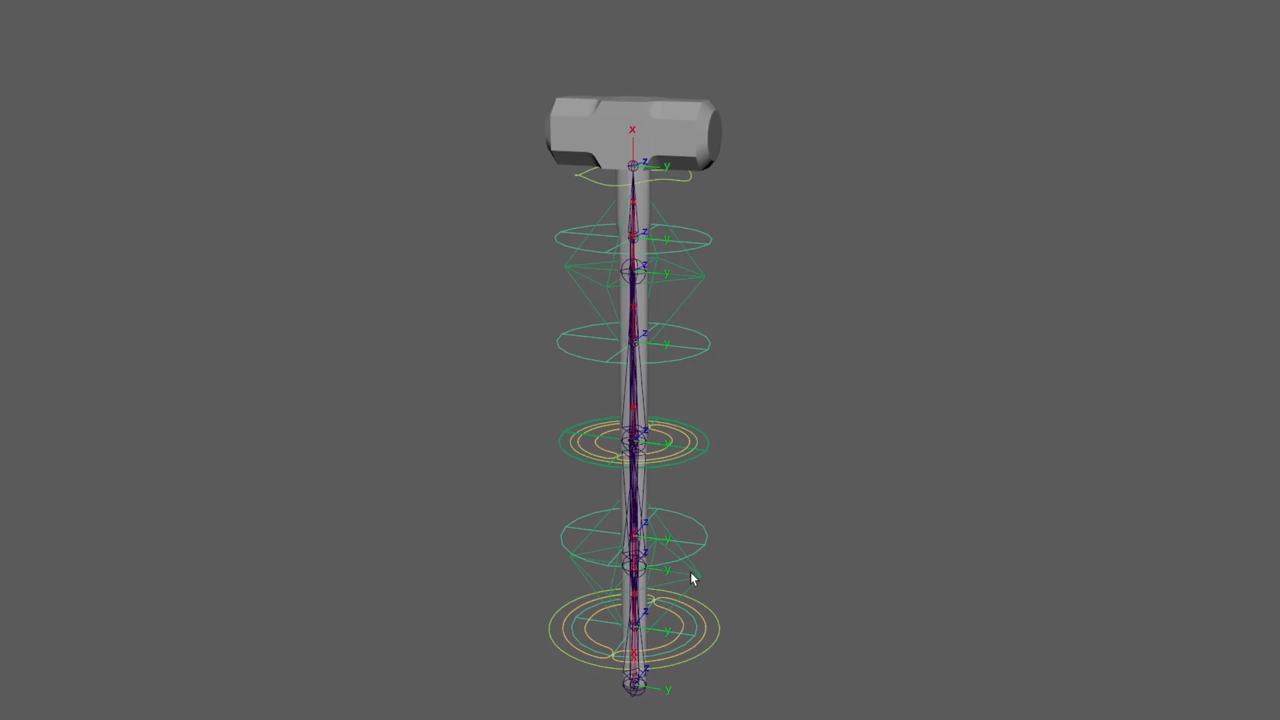
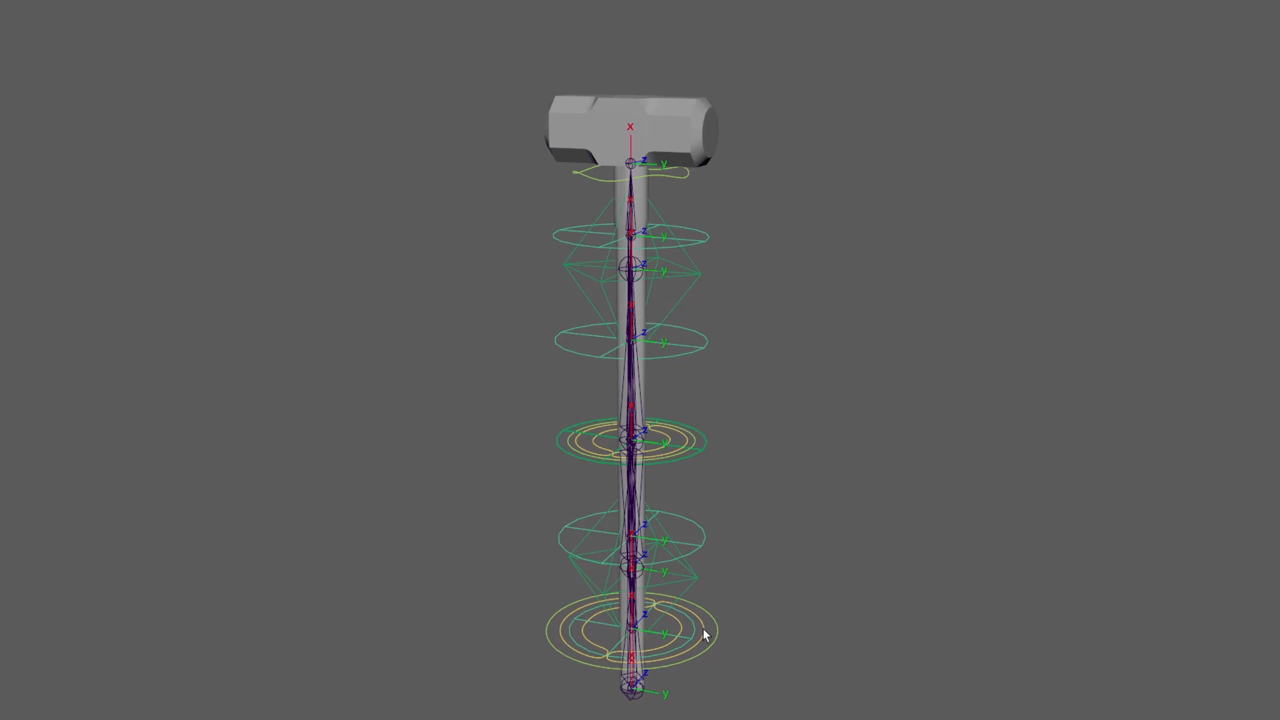
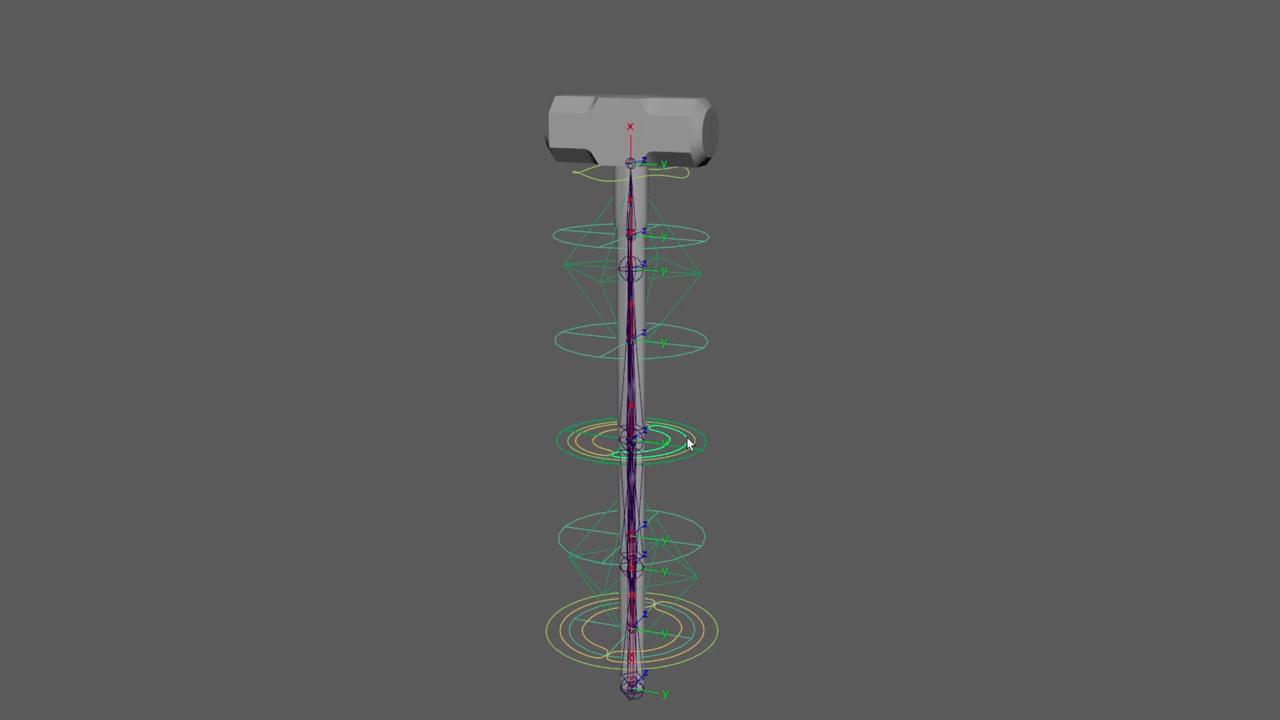
Rig Structure

Smear from the bottom, normal hammer, smear from the middle. Offset for viewing convenience.
The hammer rig itself is a fairly simple rig. It is just an FK chain with a few tweak controls. The chain gave me the ability to bend the hammer, and the tweak controls were made for the hands to attach to. The tweaks were important, as this is where the IK hand controller would be parented to so the arm and hand always stayed attached to the handle. This meant that the top hand wouldn't require much arm animation, in some cases no extra animation.
Main hammer controls with hand controller and bendies
For the hammer smears, I decided I needed 2 different kinds of smears to work with attack and parry animations.
1) Smear originating from the bottom
2) Smear originating from the middle
For the smear geometries, I duplicated the base hammer geo and made 1 for the lower smear and 1 for the middle smear. Since these rigs served no other purpose than being visible for a few frames, I didn't want to overcomplicate the smear rigs. I also didn't want to make them any heavier since I was now creating more skin clusters in the scene.
Each smear geometry was only influenced by 2 joints, a left and right side. Controllers for these were simple as well, having a left, right, and parent controller. The parent controller was used to move the entire smear as well as scale it down when not being used.
Smear originating from the bottom for long arcs in swing attack animation
Smear originating from the middle for circular arcs in the parry animation
To get the jagged edges of the smears, this was simply done with skin weighting. I only kept a couple of points on the edges set to 100%, everything else was blended with the other side.

Color ramp portraying skin weights on the right side
To show how much these rigs added to the feel of the animations, here are some examples of animations with and without the smear frames.


Attack animation without and with smear (low smear)

Parry animation without and with smear (middle smear)

Arms and hammer joints are a part of the same rig
Lastly, the arm and hammer rigs were a part of the same joint hierarchy. I felt safe to do this because our game had no other weapons, and this would make it easier to import into Unreal Engine 5 as it would then just be a singular "first person skeleton".
Importing to Unreal Engine
In Maya, I already have both the arms and hammer in the same overall rig. I have them both animated in the same rig, and the smear is "hidden" and "unhidden". What does this mean for importing into Unreal Engine?
... Barely anything. Once the rig is imported, any animation can then be imported and plugged into a blueprint, and no further steps are needed to make the animations work. Just plug n' play.

Rig imported in Unreal Engine 5

Animation imported into Unreal Engine 5

Other smear hammers scaled down to "hide" during animation. Hello tiny hammer.
With this method, I was able to achieve my goal of creating smear frames that I could animate myself and programmers wouldn't have to do any complicated workarounds to get them to work. It just works.
I would like to thank the entire team that worked on the game Rage Quit, and if you haven't played our game yet, we'd love if you would check it out and leave a review!
Play Rage Quit here:
You've been... terminated!
The underlying math for how the rig was made followed the same structure as the robot rigs. The entire rig was created using matrix math, and if you'd like to learn more about my process, feel free to check out the break down below.

Matrix Math Rigs
Learn how I created optimized game ready rigs in Maya using matrix math.
bottom of page